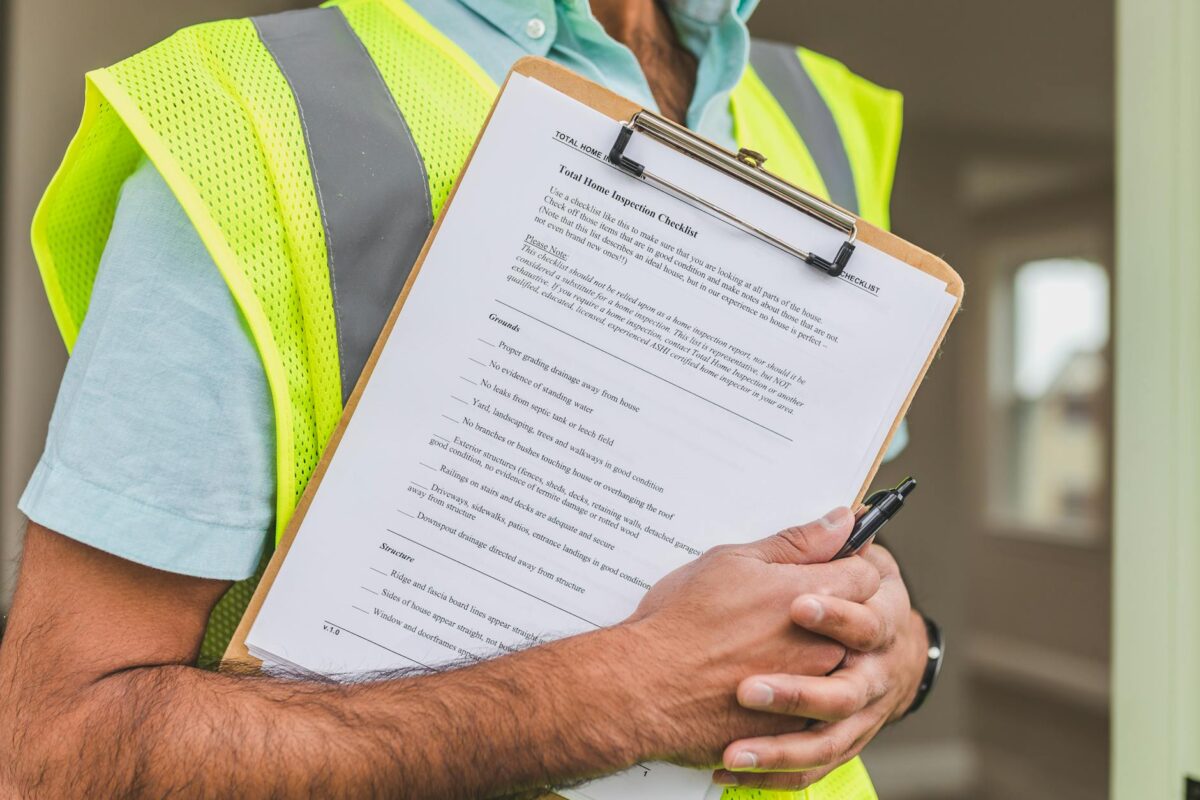
Adjuster inspection tips can make the difference between a fair payout and a denied claim. When you file a homeowners insurance claim, your insurer sends a licensed adjuster to evaluate the damage firsthand. According to the Insurance Information Institute, roughly 5.3% to 5.6% of insured homes file a claim each year.
The average homeowners claim costs between $17,000 and $18,311. However, approximately 5% to 6% of all claims are fully denied. Water damage claims see denial rates as high as 9% to 10%. Knowing what the adjuster evaluates — and how to prepare — puts you in a stronger position. These adjuster inspection tips help you avoid costly mistakes before, during, and after the visit. Most homeowners only deal with an adjuster once or twice in their lives. That unfamiliarity is exactly why preparation matters so much.
What an Insurance Adjuster Examines Room by Room
The adjuster follows a structured walkthrough of your entire property. They inspect both damaged and undamaged areas. According to the NAIC, an adjuster investigates claims, determines coverage, examines documents, and inspects property damage. One of the most important adjuster inspection tips is understanding that nothing gets overlooked.
The roof is typically the first stop. Wind and hail damage accounts for roughly 45.5% of all homeowners insurance claims. The adjuster checks for missing shingles, impact marks, and flashing damage. They then move to the foundation, looking for cracks and settling. Electrical panels, plumbing lines, and HVAC systems are all assessed for safety hazards. Inside, they examine walls, ceilings, and floors for water stains or structural movement. Basements and crawl spaces get special attention for moisture intrusion.
The adjuster also photographs everything extensively. They use measuring tools to document the scope of loss. For example, a fire and lightning claim averages $83,991 — the most expensive category. In most cases, the inspection takes 30 to 60 minutes for standard homes. Larger or more complex properties may require up to two hours.
Essential Adjuster Inspection Tips for Homeowner Preparation
Preparation is where most homeowners fall short. The best adjuster inspection tips focus on documentation. Take hundreds of photos from multiple angles before any cleanup or demolition. This preserves the evidence the adjuster needs to see. As a result, your claim has stronger support from the start.
Gather these documents before the adjuster arrives:
| Document | Why It Matters |
|---|---|
| Insurance policy copy | Confirms your coverage limits and deductibles |
| Photos and video of damage | Preserves evidence before any repairs |
| Repair receipts and maintenance records | Proves regular upkeep of the property |
| Contractor estimates (itemized) | Provides independent cost verification |
| Communication log with insurer | Tracks all interactions for your records |
Typically, the adjuster contacts you within 24 to 48 hours of filing. Keep in mind these adjuster inspection tips about timing. Do not perform major cleanup or demolition before the inspection. The adjuster needs to see the damage in its original state. However, you should secure the property to prevent further loss. Boarding up windows or tarping a roof is expected and will not hurt your claim.
Red Flags to Watch For and How to Protect Your Claim
Not every inspection goes smoothly. Knowing these adjuster inspection tips about red flags can protect you. Watch for an adjuster who takes weeks to schedule the visit. Repeated changes to your assigned adjuster are another warning sign. If documents are requested in stages rather than all at once, the process may be unnecessarily delayed.
On the property side, adjusters look for signs of gradual wear versus sudden damage. Policy exclusions account for approximately 33% of all rejected claims. For example, slow leaks and deferred maintenance are not covered. The adjuster distinguishes between a pipe that burst suddenly and one that corroded over months. Water damage claims average around $12,000 to $15,400. Keeping these adjuster inspection tips in mind, always be honest about the timeline and cause of damage.
Regional factors also matter. In Florida, claim denial rates run between 9% and 11% — nearly double the national average. In the Midwest, denial rates drop to 3% to 4%. First-time claimants with long policy tenure see denial rates as low as 2% to 3%. Repeat claimants face rates of 8% to 10%. As a result, your claims history directly affects how the inspection is handled.
After the Inspection: Next Steps to Take
Once the adjuster finishes, they compile a report for your insurer. The settlement offer follows. These adjuster inspection tips for the post-inspection phase are critical. Request a copy of the adjuster’s report. Compare their findings against your own photos and contractor estimates. In most cases, you have the right to dispute the initial offer.
🏠 Get Free Home Insurance Guides
Free · No spam · Unsubscribe anytime
If the settlement seems low, get a second opinion from a licensed public adjuster. The NAIC requires adjusters to maintain transaction records for five years. This means you can revisit documentation later if needed. Adjuster inspection tips from consumer advocates consistently recommend keeping your own detailed file. Store every email, letter, and phone note in one place.
Typically, simple claims resolve within a few days to several weeks. Complex claims can take months. Following these adjuster inspection tips throughout the process keeps you organized and informed. The more prepared you are, the smoother and faster your claim moves toward a fair resolution.
Frequently Asked Questions
How long does an insurance adjuster home inspection take?
In most cases, the inspection takes 30 to 60 minutes for a standard-sized home. However, larger properties or complex damage situations may require up to two hours. According to FEMA guidelines, the average inspection lasts approximately 30 minutes. These adjuster inspection tips suggest blocking out at least an hour to be safe.
Can I be present during the insurance adjuster’s inspection?
Yes, and you should be. Being present lets you point out all damaged areas and answer questions directly. Typically, the adjuster will schedule the visit at a mutually convenient time. Adjuster inspection tips from the NAIC confirm that adjusters must obtain homeowner permission before accessing the property.
What happens if I disagree with the adjuster’s damage estimate?
You have the right to dispute the findings. For example, you can hire a licensed public adjuster to provide an independent assessment. Many policies include an appraisal clause for resolving disputes. As a result, keeping your own photos, contractor estimates, and documentation gives you leverage during negotiations.
Compare Home Insurance Rates
Ready to see if you could be paying less for homeowners insurance? Compare quotes from top insurers in your area. Getting multiple quotes is the most effective way to find a better rate.
(paid link)
Official Sources & Resources
For verified information on home insurance regulations and consumer protection:
- NAIC (National Association of Insurance Commissioners): naic.org
- Insurance Information Institute: iii.org
- FEMA (Federal Emergency Management Agency): fema.gov
- FloodSmart (National Flood Insurance Program): floodsmart.gov
- USA.gov — Housing: usa.gov/housing
Content last reviewed May 2026. If you notice any outdated information, please contact us.